If you’ve ever had a spoonful of chilli crisp, you’ll know exactly why it’s become a cult favourite. Crunchy shallots, crispy garlic, and layers of umami-rich spice floating in aromatic oil, this stuff goes with everything.
From drizzling over fried eggs and noodles to mixing into rice or dipping dumplings, this homemade chilli crisp recipe is bold, flavour-packed, and better than anything you’ll find in a jar.
Why Make Chilli Crisp at Home?
Most store-bought chilli oils fall into two camps: too bland or too oily. Making it yourself means:
- Full control over heat and flavour
- No preservatives or filler oil
- Custom texture, crispy, chunky or smooth
- Cheaper in the long run
And with this recipe, the process is simple and super rewarding.
Ingredients
Here’s what you’ll need to make around 2-3 small jars of chilli crisp:
- 500ml neutral oil (rapeseed, vegetable or sunflower)
- 2 large shallots, thinly sliced
- 8–10 garlic cloves, thinly sliced
- 50g gochugaru (Korean red pepper flakes)
- 50g red chilli flakes
- 25g Aleppo chilli flakes
- 2 tsp Sichuan chilli powder
- 1 ghost chilli (optional, for serious heat)
- 1 tbsp sesame seeds
- 1 tbsp sugar
- 1 tbsp salt
- 1 tsp MSG (optional, but recommended for umami)
- 3 tbsp soy sauce
Recommended tools:
Fine mesh strainer – Amazon UK affiliate link
Glass jars – Amazon UK affiliate link
Method: How to Make Chilli Crisp
1. Prepare the Spice Base
In a heatproof bowl, combine all the dry ingredients:
- Gochugaru
- Red chilli flakes
- Aleppo flakes
- Sichuan powder
- Ghost chilli (crumbled)
- Sesame seeds, sugar, salt, and MSG
Mix well and set aside.
2. Heat the Oil
Pour your oil into a pan and bring it to medium-low heat. To test when it’s ready, insert a wooden chopstick, it should bubble gently.
3. Fry the Aromatics
One by one, fry the sliced garlic and shallots in the oil. Cook slowly until golden and crispy, being careful not to burn. This step builds most of the depth.
Tip: Remove each ingredient once crisp to avoid overcooking. Set them aside on a paper towel. Discard any ginger if used.
4. Cool the Oil Slightly
Turn off the heat and let the oil cool for 1–2 minutes. This prevents it from burning the chilli when poured.
5. Temper the Spice Mix
To prevent burning the spices, add a small ladle of hot oil into the spice bowl and stir quickly to form a paste. This helps bring the temperature of the mix up slowly.
6. Add the Remaining Oil
Slowly pour in the rest of the oil, stirring constantly. You should hear a satisfying sizzle, this is where the flavour magic happens.
7. Add Crispy Garlic & Onion
Once the oil has cooled slightly, crumble the reserved garlic and shallots between your fingers (or blitz briefly in a food processor). Add them to the chilli oil.
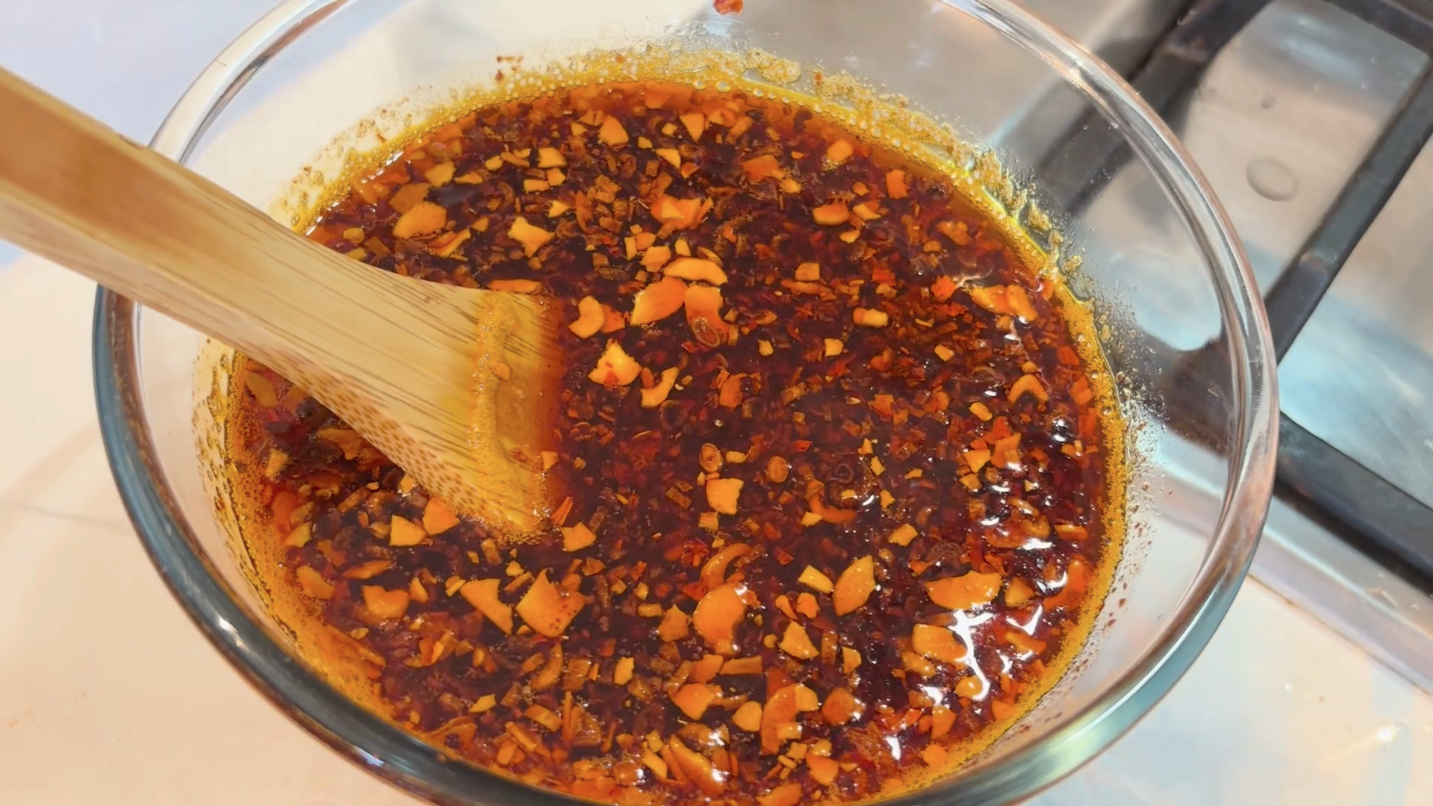
8. Stir in Soy Sauce
Add 3 tablespoons of soy sauce and stir well. The soy brings umami and depth to balance the heat.
9. Cool & Store
Let the mixture cool completely. Pour into sterilised jars and store in the fridge.
How to Use Chilli Crisp
- Drizzle over noodles or fried rice
- Spoon onto fried eggs or toast
- Add to dumplings, bao or stir-fries
- Mix with mayo for a spicy dip
- Or eat it by the spoonful (we won’t judge)
Storage Tips
- Fridge life: Up to 4 weeks in a sealed jar
- Use clean utensils each time to keep it fresh
- The flavour deepens after a day or two!
Variations You Can Try
- Use peanut oil for nuttier flavour
- Add a touch of black vinegar for acidity
- Swap shallots for onions if needed
- Leave out the ghost chilli for milder results
Chilli crisp isn’t just a topping, it’s a way of life. Once you make this batch at home, you’ll never go back to store-bought. It’s spicy, crunchy, savoury, and endlessly customisable.
Leave a Reply