There’s nothing quite like homemade paneer, soft, fresh, and perfect for curries, kebabs, or pan-frying. If you’ve only ever had store-bought paneer, making it yourself is a complete game changer. And the best part? You only need two ingredients: milk and lemon juice.
This recipe walks you through the process step-by-step so you can confidently make delicious paneer at home without any special tools or additives.
Homemade Paneer Video
What Is Paneer?
Paneer is a fresh, non-aged cheese commonly used in Indian cooking. Unlike cheeses that require fermentation or rennet, paneer is made by curdling hot milk with an acid like lemon juice or vinegar. It’s mild in flavour, holds its shape when cooked, and takes on the taste of whatever sauce or spice blend it’s paired with — making it incredibly versatile.
Ingredients (Only 2)
- 4 pints whole milk (full-fat for best results)
- 2-3 tbsp lemon juice (freshly squeezed preferred)
Optional tools to make it easier:
- [Cheese cloth or muslin – Amazon]
- [Colander – Amazon]
- [Paneer press – Amazon]
Method: How to Make Paneer
Follow this step-by-step guide for perfect homemade paneer every time.
1. Bring the Milk to a Boil
In a large saucepan, heat 4 pints of whole milk over medium-high heat. Stir occasionally to prevent sticking. Once the milk reaches a rolling boil, turn off the heat immediately.
2. Add Lemon Juice
Add 2–3 tablespoons of lemon juice to the hot milk and stir gently. Within seconds, the milk will start to separate into curds and whey. If separation doesn’t happen fully, add a little more lemon juice and stir again.
3. Prepare the Straining Setup
Fold a cheese cloth or clean muslin in half and place it in a colander, which should be set over a large mixing bowl to catch the whey.
4. Strain the Curds
Carefully pour the curdled milk into the cheesecloth-lined colander. Allow it to cool slightly until it’s comfortable to handle.
5. Squeeze Out the Moisture
Gather the corners of the cloth and twist the top tightly to form a ball. Squeeze out as much liquid as you can from the curds. Discard or save the whey if you plan to use it in soups or chapati dough.
6. Press the Paneer
Place the curd-filled cheese cloth (still in the colander and bowl) back over the empty bowl. Place a small plate upside down on top of the curds, then set a heavy jar or weights on top to press it down firmly.
7. Refrigerate Overnight
Transfer the whole setup to the fridge and leave it to press and chill overnight. This helps firm up the paneer and gives it that perfect block shape.
8. Cut and Use
Unwrap the cheesecloth the next day, and you’ll have a solid block of fresh paneer. Cut into bite-sized cubes or slices and use in your favourite recipes.
How to Use Homemade Paneer
Paneer is endlessly versatile and can be used in:
- Chilli Paneer (dry Indo-Chinese starter)
- Paneer Butter Masala
- Palak Paneer (Spinach & Cheese Curry)
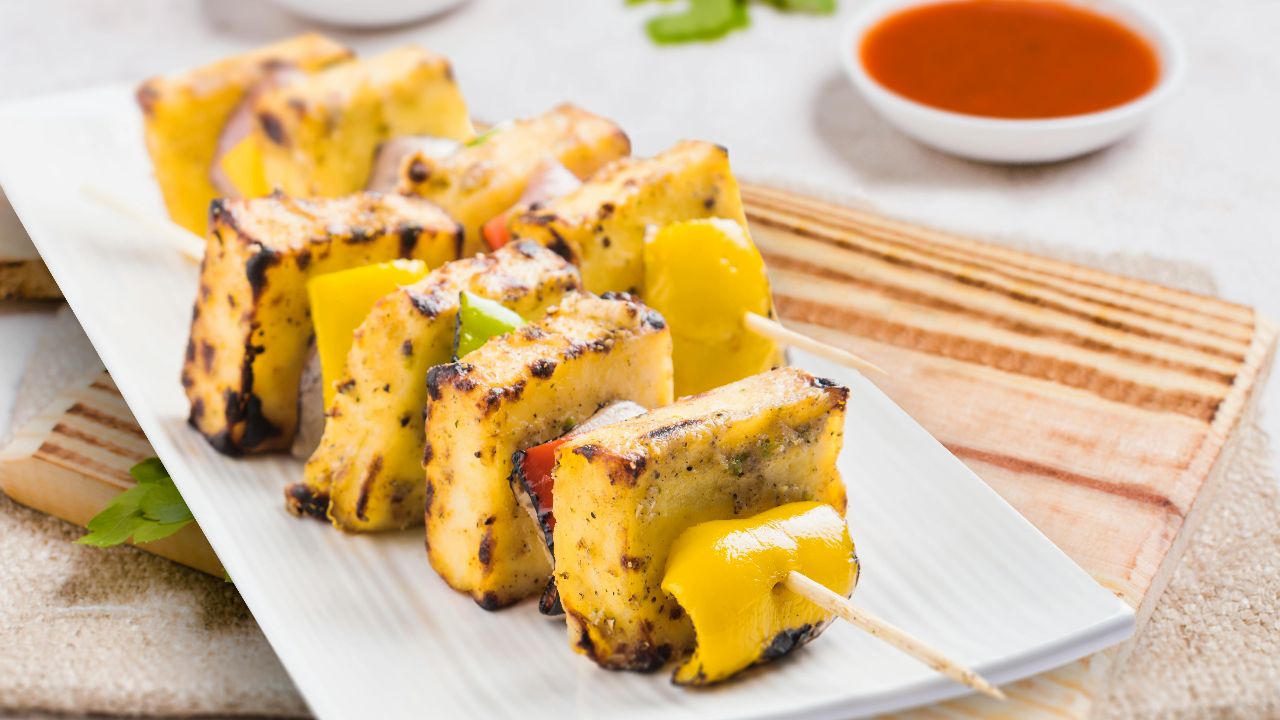
- Paneer Tikka (Grilled Skewers)
- Stir-fries, wraps, or even tossed into salads
Want to make chilli paneer next? Try my Chilli Paneer Recipe for a spicy, restaurant-style starter.
Tips for Perfect Paneer
- Use full-fat milk for a richer, creamier result
- Don’t over-stir once the curds start to form, it can break them down too much
- If you want softer paneer, press for a shorter time
- For firmer paneer (great for grilling), press overnight or use a paneer press
- Leftover whey is high in protein, reuse it in curries, dough, or smoothies
How to Store Homemade Paneer
- In the fridge: Store in an airtight container with a bit of water. Keeps for 3-4 days.
- In the freezer: Cut into cubes and freeze on a tray, then store in a freezer bag for up to 2 months.
Upgrade Your Paneer with Homemade Paneer
Homemade paneer is easier than it looks, and once you try it, you may never go back to store-bought again. It’s fresher, softer, and just more satisfying, especially when you’ve made it yourself.
This blog contains affiliate links, where I may make a small commission for qualifying purchases.
Leave a Reply